How to Measure for ZIP Screens Before Ordering
A ZIP screen opening may look simple: measure the width, measure the height, and place the order.
That is also where many sizing mistakes begin.
A pergola opening might measure 3,000 mm wide × 2,400 mm high, yet a custom ZIP screen can still be difficult or impossible to install if the posts are not parallel, the guide tracks have insufficient fixing space, the head box conflicts with the beam, or the bottom bar meets a sloped patio.
The most important rule is simple:
Measure where the ZIP screen system will actually be installed, not only the visible opening.
For a reliable site measurement, record the width at the top, middle and bottom, the drop at the left, centre and right, and the available installation space for the head box, side tracks and bottom stop. Keep the original readings rather than averaging an irregular opening.
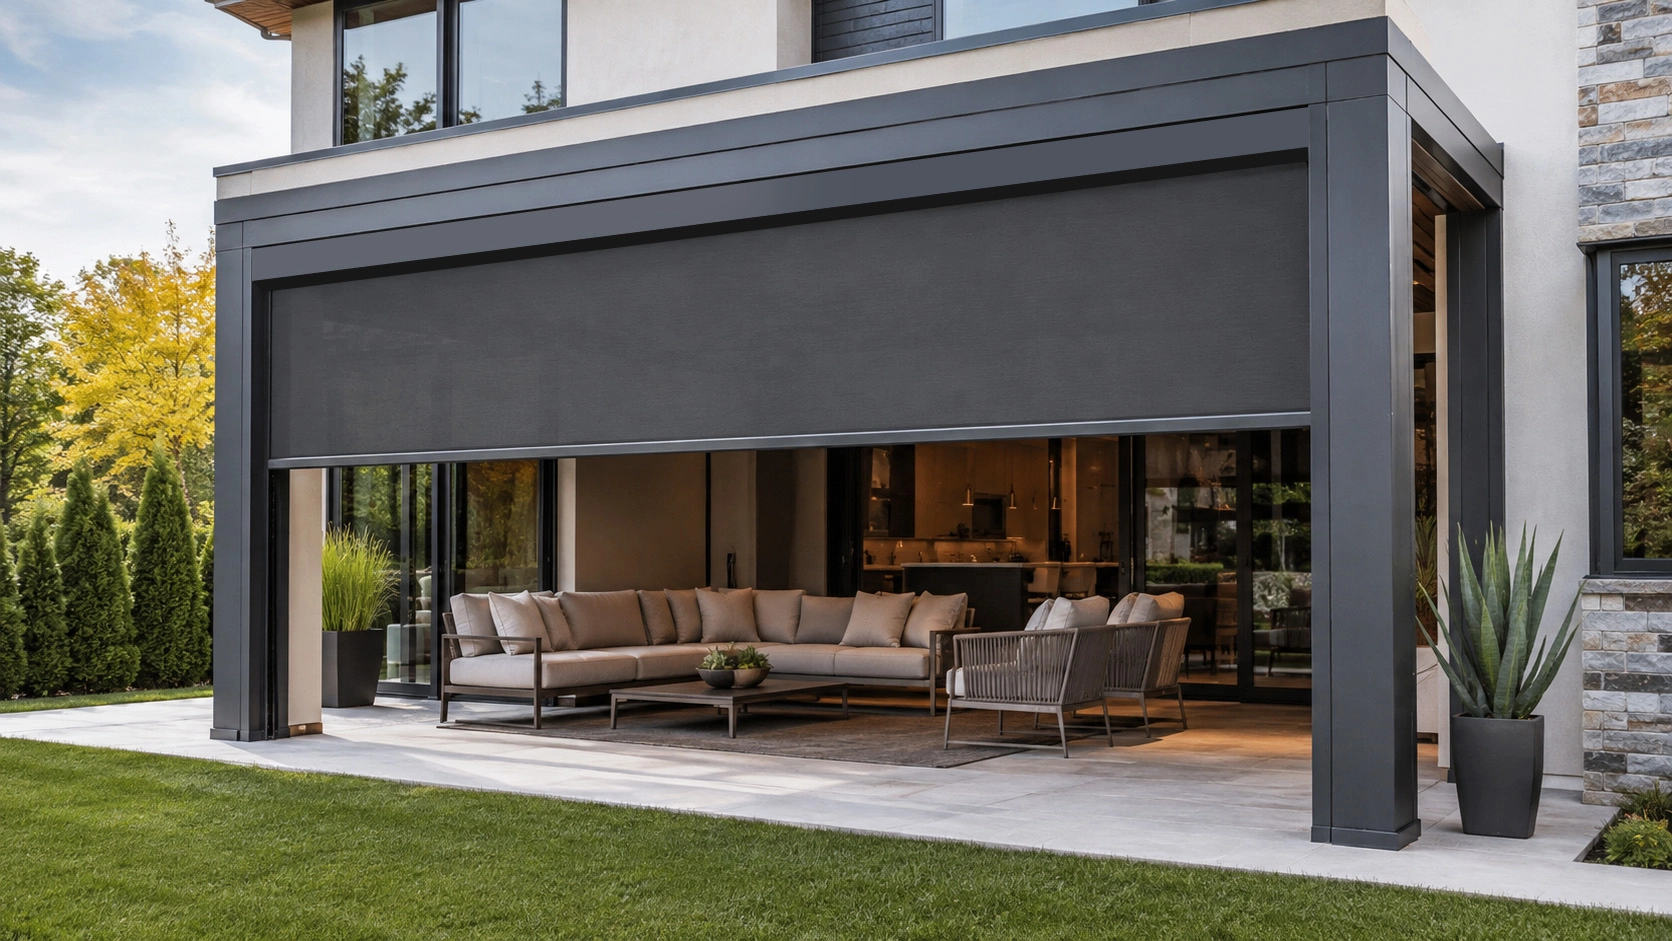
Before You Start: Opening Size Is Not Production Size
Before learning how to measure for ZIP screens, understand what each dimension represents.
| Dimension | What It Means | Who Confirms It |
|---|---|---|
| Clear Opening | Physical space between posts, walls, beam and floor | Customer / Installer |
| Mounting Dimension | Distance between actual fixing positions | Customer / Installer |
| Finished System Size | Overall manufactured ZIP screen dimensions | Supplier |
| Fabric Size | Fabric dimensions inside the completed system | Manufacturer |
A 3,000 mm clear opening does not automatically require a 3,000 mm finished ZIP screen.
Reveal Fit and Face Fit use different mounting references, while track and head box dimensions vary between systems. Measure the real site first and confirm the final production dimensions from the technical drawing for the selected ZIP screen.
ZIP Screen Measurement at a Glance
The complete process can be reduced to eight practical checks.
Step-by-Step ZIP Screen Measuring Guide
Choose Face Fit or Reveal Fit
The mounting method determines where your measurements begin and end.
Reveal Fit
Reveal Fit places the ZIP screen inside the opening, typically between pergola posts, walls or structural columns.
If the opening measures:
- Top: 3,006 mm
- Middle: 3,000 mm
- Bottom: 2,990 mm
the opening should not be treated as a uniform 3,000 mm width. The 2,990 mm narrow point is an important physical constraint, but it is not automatically the production width.
Face Fit
Face Fit places the system in front of the opening. In addition to the opening width, check where both tracks will sit and whether the surrounding surface provides enough flat fixing area.
| Item | Reveal Fit | Face Fit |
|---|---|---|
| Position | Inside opening | In front of opening |
| Main constraint | Internal geometry | Coverage and fixing space |
| Depth | Important | Usually less restrictive |
Define Four Measurement Lines
Take one clear front-view photo of the opening and identify:
- Head box line
- Left guide-track line
- Right guide-track line
- Bottom stop line
Every important dimension should be taken between or from these reference lines rather than from the visible edges of a door or window.
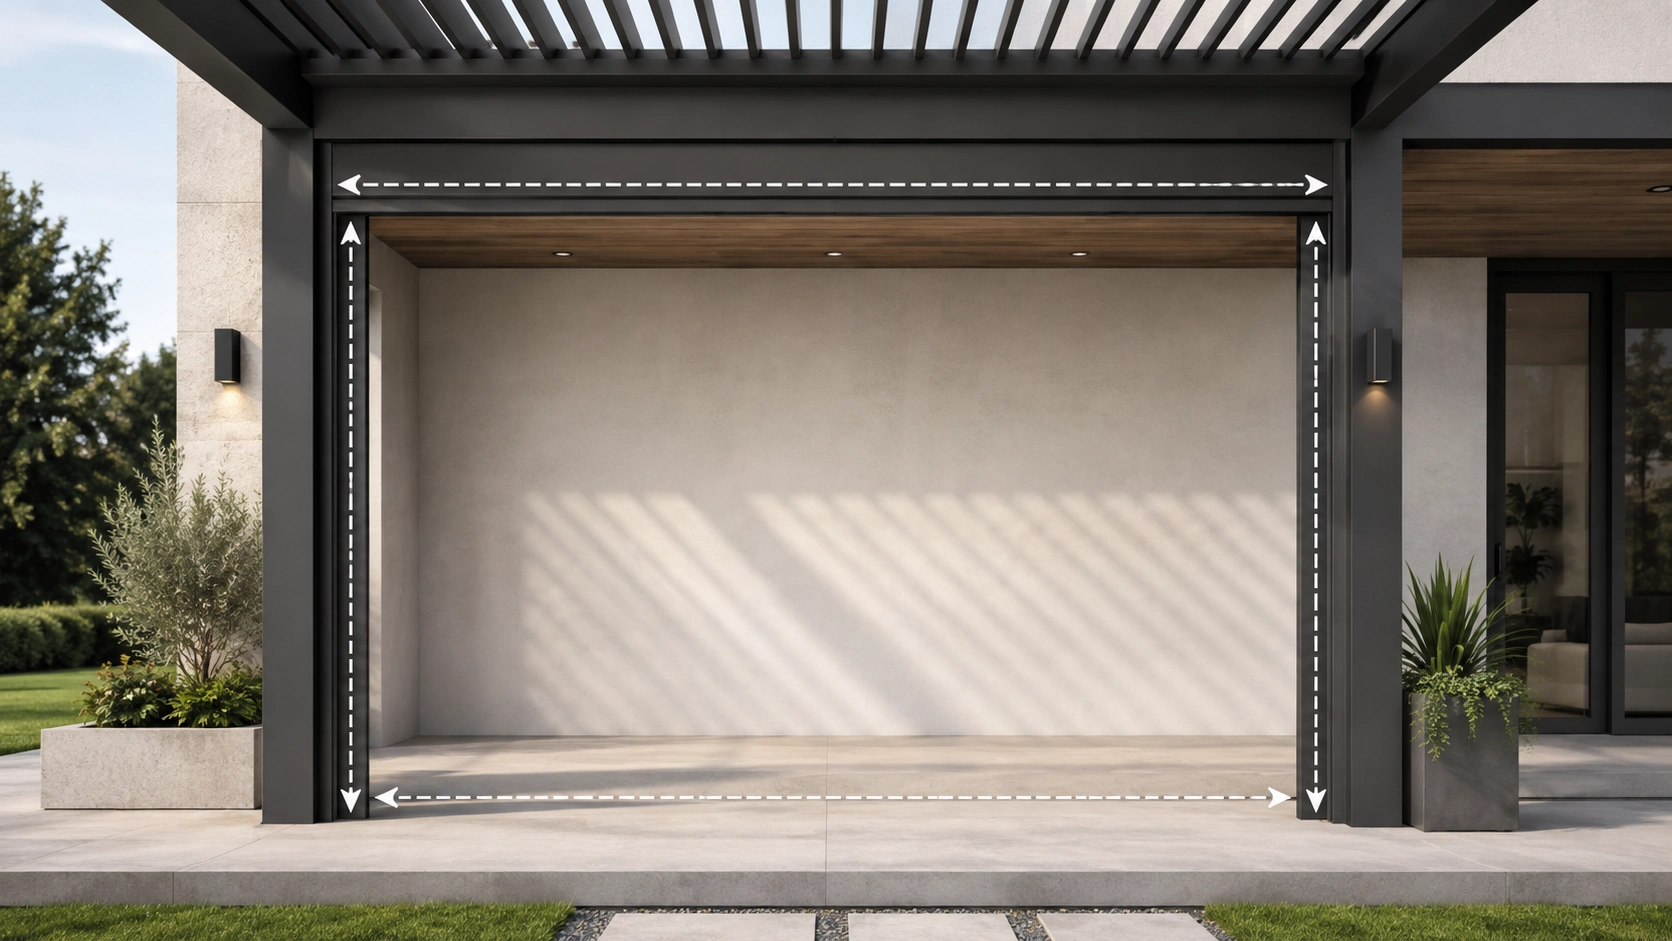
Stop here if the mounting lines are unclear. Send the front-view photo to the supplier and confirm the track and cassette positions before calculating an order size.
Measure Width at the Top, Middle and Bottom
Measure horizontally between the planned guide-track lines and keep all three original readings.
| Position | Width |
|---|---|
| Top | ____ mm |
| Middle | ____ mm |
| Bottom | ____ mm |
Example:
- Top: 3,020 mm
- Middle: 3,012 mm
- Bottom: 2,998 mm
Width variation = 22 mm
Do not average these readings into “approximately 3,010 mm.” An average hides the fact that the opening narrows by 22 mm.
Measure Drop at the Left, Centre and Right
Measure vertically from the final head box line to the final bottom stop line.
| Position | Drop |
|---|---|
| Left | ____ mm |
| Centre | ____ mm |
| Right | ____ mm |
For example:
- Left: 2,412 mm
- Centre: 2,407 mm
- Right: 2,398 mm
Maximum variation = 14 mm
The difference may come from a patio drainage slope, uneven tiles, threshold height or an out-of-level top beam.
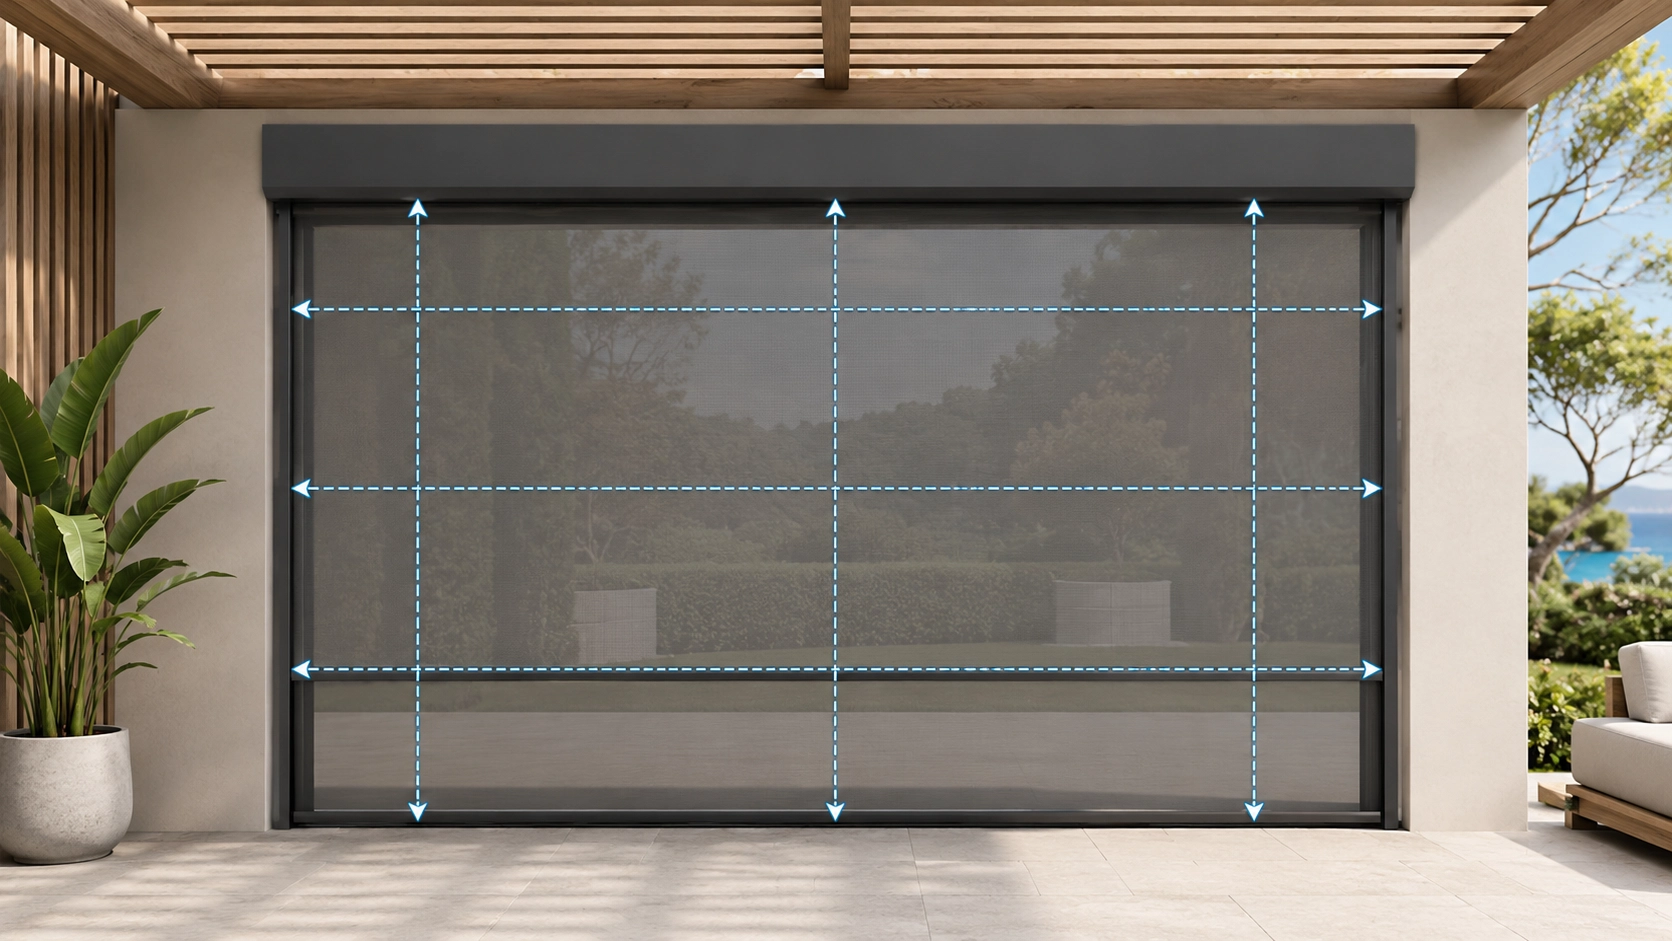
Only Measure Diagonals If the Opening Looks Irregular
Add diagonal measurements only when:
- the three widths differ noticeably;
- the three drops differ;
- posts appear to lean;
- the opening looks twisted or out of square.
Diagonals do not determine production size. They help the supplier understand whether the opening is twisted or racked.
Measure Head Box Clearance
Correct width and height measurements are not enough if the cassette has no installation space.
| Check | Available Space |
|---|---|
| Mounting height | ____ mm |
| Available depth | ____ mm |
| Forward clearance | ____ mm |
Check beams, gutters, soffits, roof edges, lights, pipes, windows and outward-opening doors. There is no universal ZIP screen cassette clearance, so compare the available space with the technical drawing of the selected system.
Check Reveal Depth
Reveal Fit needs more than width and height. The opening must also provide enough depth for the selected system.
| Total reveal depth | ____ mm |
| Usable track depth | ____ mm |
| Distance to obstruction | ____ mm |
Door handles, hinges, glazing channels, mullions and decorative trim can reduce usable depth even when the opening is wide and tall enough.
Measure the Guide-Track Fixing Areas
Measure the flat, uninterrupted surface where each guide track will actually be fixed.
| Check | Left | Right |
|---|---|---|
| Usable fixing width | ____ mm | ____ mm |
| Continuous fixing height | ____ mm | ____ mm |
| Mounting material | ____ | ____ |
A post that looks 120 mm wide may provide much less usable fixing space once rounded corners, glass channels, trim and structural joints are excluded.
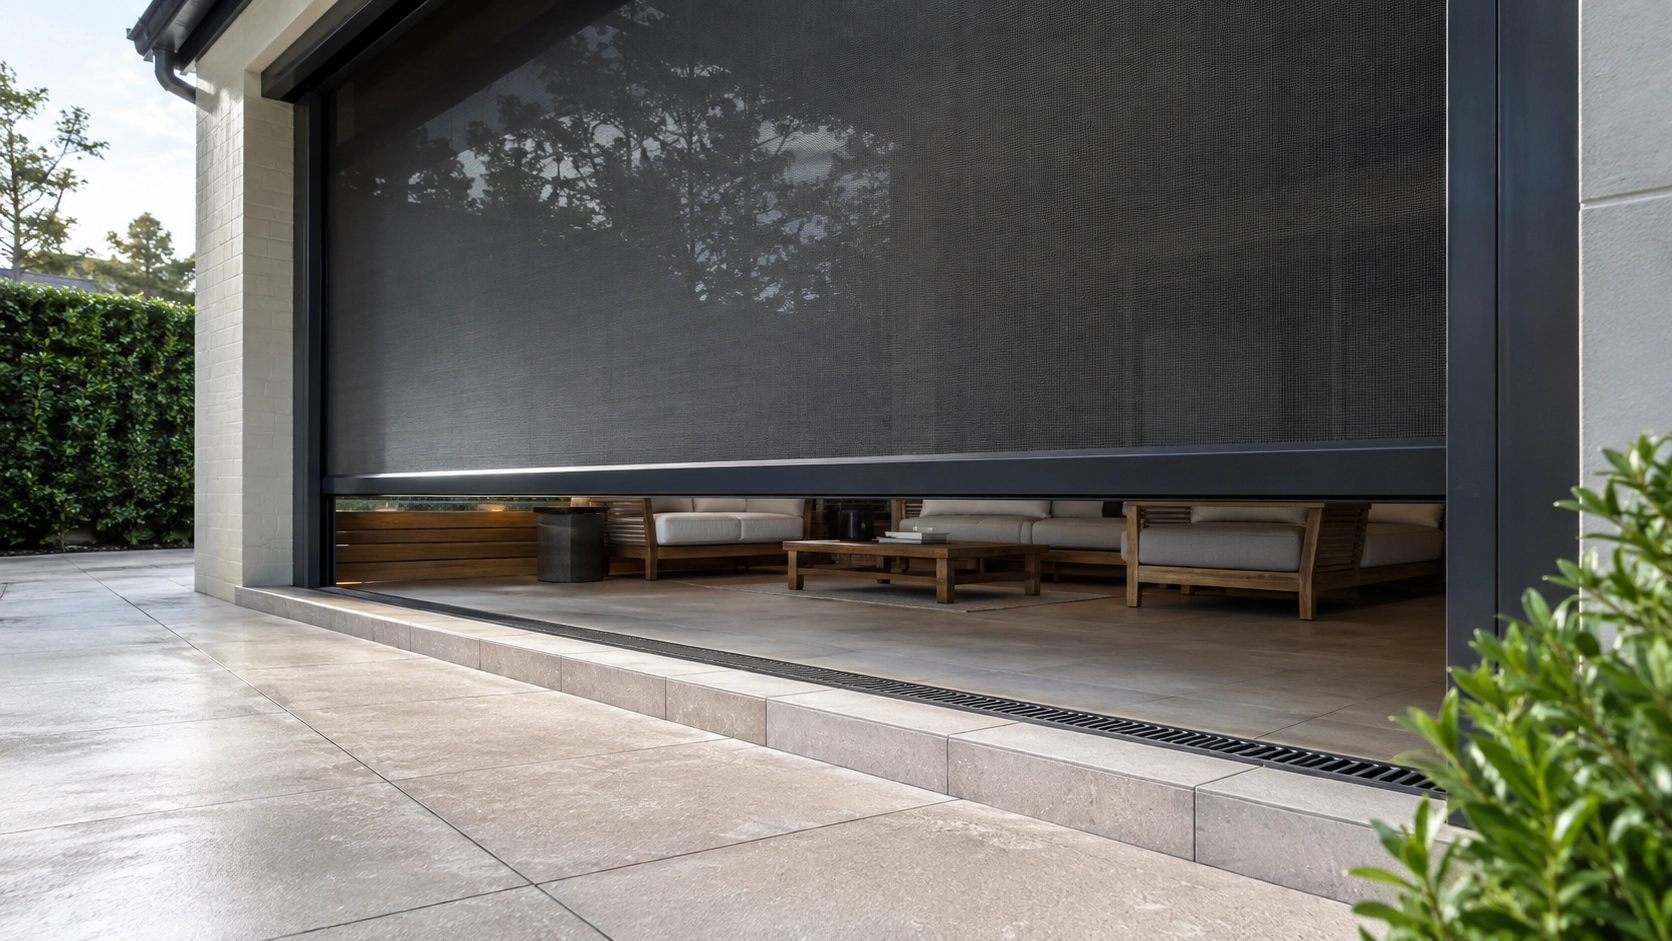
Check the Bottom Stop Area
Inspect exactly where the bottom bar will finish. Check for:
- floor slope;
- door thresholds;
- drainage channels;
- raised curbs;
- timber decking;
- door swing or walkway conflicts.
If a specific bottom clearance must remain, include that dimension in the measurement package.
Common ZIP Screen Measurement Problems
The Top and Bottom Widths Are Different
Do not average them. Keep the Top, Middle and Bottom readings and provide them separately.
One Side Is Taller Than the Other
Photograph both the top beam and bottom surface. The difference may come from the floor, top structure or both.
The Posts Look Wide but the Tracks Have Little Fixing Space
Measure only the flat usable surface and photograph corners, glazing channels and trim.
You Cannot Decide Where the Head Box Should Sit
Do not continue converting site dimensions into production dimensions. Send a full opening photo for technical review first.
Worked Example: Reading an Uneven Pergola Opening
| Top Width | 3,018 mm |
| Middle Width | 3,010 mm |
| Bottom Width | 2,997 mm |
| Left Drop | 2,412 mm |
| Centre Drop | 2,407 mm |
| Right Drop | 2,398 mm |
| Left Fixing Surface | 92 mm |
| Right Fixing Surface | 76 mm |
| Reveal Depth | 105 mm |
| Finding | Meaning | Next Step |
|---|---|---|
| Width varies by 21 mm | The opening should not be treated as one average width | Review the narrowest point and track alignment |
| Drop varies by 14 mm | Top or bottom reference is not level | Send top and bottom photos |
| 92 / 76 mm fixing areas | Track mounting conditions differ | Photograph both post faces |
| 105 mm reveal depth | Suitability depends on the selected system | Check the section drawing |
When Should You Stop and Ask for a Technical Review?
Send the measurements and site photos for review if:
- posts are not parallel;
- the opening visibly tapers or twists;
- the fixing surfaces are interrupted or structurally unclear;
- the head box or tracks will be recessed;
- the opening is unusually wide or tall;
- left and right fixing conditions are different.
For high-rise, coastal, rooftop or highly exposed projects, also include the project location and installation height with the measurement package.
What to Send With Your ZIP Screen Measurements
- Face Fit / Reveal Fit / Not Sure
- Top, Middle and Bottom widths
- Left, Centre and Right drops
- Diagonal measurements only when the opening is irregular
- Head box height and depth
- Left and right track fixing widths
- Reveal depth where applicable
- One full front photo
- Close-ups of the top, both sides and bottom area
If motorized: also provide the power location, cable exit side and cable route.
If solar powered: include the proposed panel location, nearby permanent shading and cable route.
Not Sure Whether Your Opening Is Ready?
Send us your three width measurements, three drop measurements and clear installation photos. We can review the mounting conditions before the final ZIP screen size is confirmed.
Send Measurements & PhotosFrequently Asked Questions
Should I Order a ZIP Screen Using the Clear Opening Size?
Not automatically. The clear opening is a site measurement. Final production size depends on the mounting method and the selected ZIP screen system.
Should I Deduct Clearance for Reveal Fit Myself?
Not unless the technical documentation for the exact system tells you to do so. Guide-track dimensions and manufacturing allowances differ between systems.
What If the Top and Bottom Widths Are Different?
Keep the Top, Middle and Bottom readings separately. Do not average them. Add diagonal measurements if the opening also appears out of square.
How Much Space Does a ZIP Screen Head Box Need?
There is no universal value. Measure the available height and depth and compare them with the technical drawing for the selected system.
Can a ZIP Screen Be Installed on a Sloped Patio?
Possibly. Measure the Left, Centre and Right drops and provide a photo showing the slope, threshold and drainage condition.
Final Thoughts
Measuring for a ZIP screen is not simply a width × height exercise.
A useful site measurement records the mounting method, three widths, three drops, head box clearance, guide-track fixing surfaces, installation depth and bottom condition.
Keep the original measurements, do not hide irregularities with averages, and do not invent your own production deductions. When the opening is not straightforward, provide the dimensions and photos for technical review before the custom ZIP screen enters production.
How Much Wind Can a ZIP Screen Withstand?
What Is the Maximum Width of an Outdoor Roller Blind?
Related Article